Connecting a Secondary EVM Wallet to your Galxe ID: A Step-by-Step Guide
Welcome to our step-by-step guide on how to connect your secondary EVM (Ethereum Virtual Machine) wallet to Galxe ID! Galxe ID is a decentralized identity solution built on the Ethereum blockchain that allows users to securely manage their digital identities and interact with various decentralized applications.
Connecting your secondary EVM wallet to Galxe ID is a simple process that will enable you to use your wallet to interact with Galxe ID and access its features. By connecting your wallet, you can sign transactions, verify your identity, and securely interact with decentralized applications that are integrated with Galxe ID.
Before we begin, please make sure you have a secondary EVM wallet that supports the Ethereum network and a secure internet connection. Follow the step-by-step instructions below to connect your secondary EVM wallet to Galxe ID:
- Step 1: Open your secondary EVM wallet and navigate to the settings or options menu.
- Step 2: Look for the option to add or connect a new wallet and select it.
- Step 3: Choose the Ethereum network and enter the required details, such as your wallet address and private key.
- Step 4: Once you have entered the details, click on the “Connect” or “Add Wallet” button to initiate the connection process.
- Step 5: At this point, your secondary EVM wallet will communicate with Galxe ID and establish a secure connection.
- Step 6: You may be prompted to verify your identity or provide additional information. Follow the on-screen instructions to complete this step.
- Step 7: After successfully connecting your secondary EVM wallet to Galxe ID, you will be able to access its features and securely interact with decentralized applications.
That’s it! You have successfully connected your secondary EVM wallet to Galxe ID. Now you can enjoy the benefits of decentralized identity and securely manage your digital identity while using your favorite EVM wallet.
Note: Make sure to keep your wallet information secure and never share your private key with anyone. Also, be cautious when interacting with decentralized applications and only use trusted platforms to protect your funds and personal information.
Create a Galxe ID
To connect your secondary EVM wallet to Galxe ID, you first need to create a Galxe ID account. Follow the step-by-step guide below:
- Go to the Galxe ID website.
- Click on the “Sign Up” button.
- Fill out the registration form with your personal information, such as your name, email address, and password.
- Read and accept the terms and conditions.
- Click on the “Create Account” button.
- You will receive a confirmation email. Click on the link in the email to verify your account.
- Once your account is verified, log in to your Galxe ID account.
- From your account dashboard, click on the “Connect Wallet” button.
- Select your secondary EVM wallet from the list of supported wallets.
- Follow the instructions to connect your wallet to Galxe ID.
Once your secondary EVM wallet is connected to Galxe ID, you can easily manage your digital assets and access decentralized applications on the Galxe network.
Download and Install Secondary EVM Wallet

To connect your secondary EVM wallet to Galxe ID, you need to have a compatible wallet installed on your device. Here are the steps to download and install a secondary EVM wallet:
Step 1: Choose a Secondary EVM Wallet
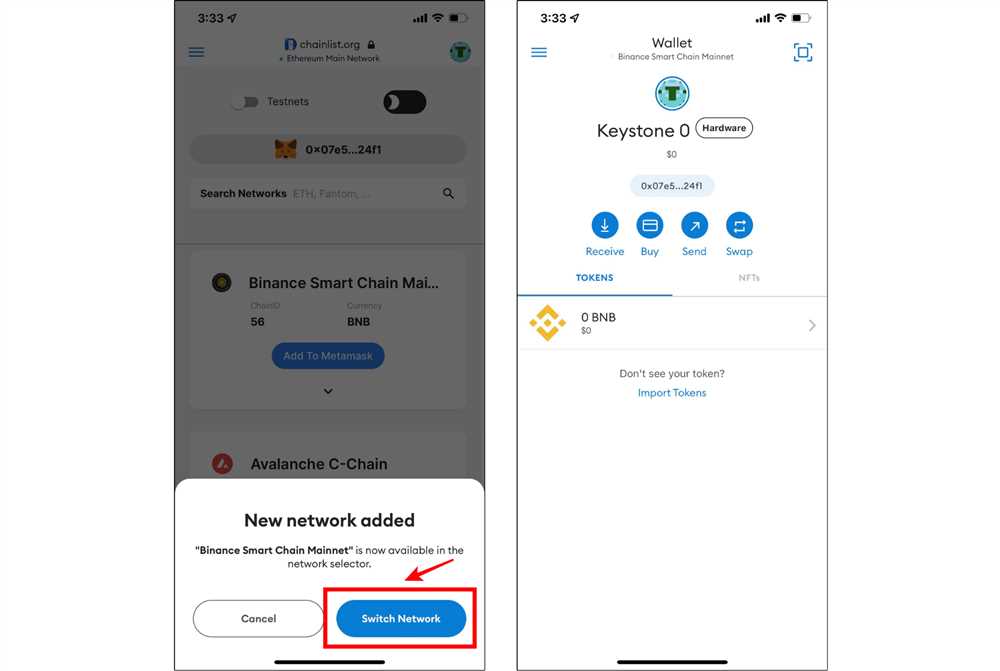
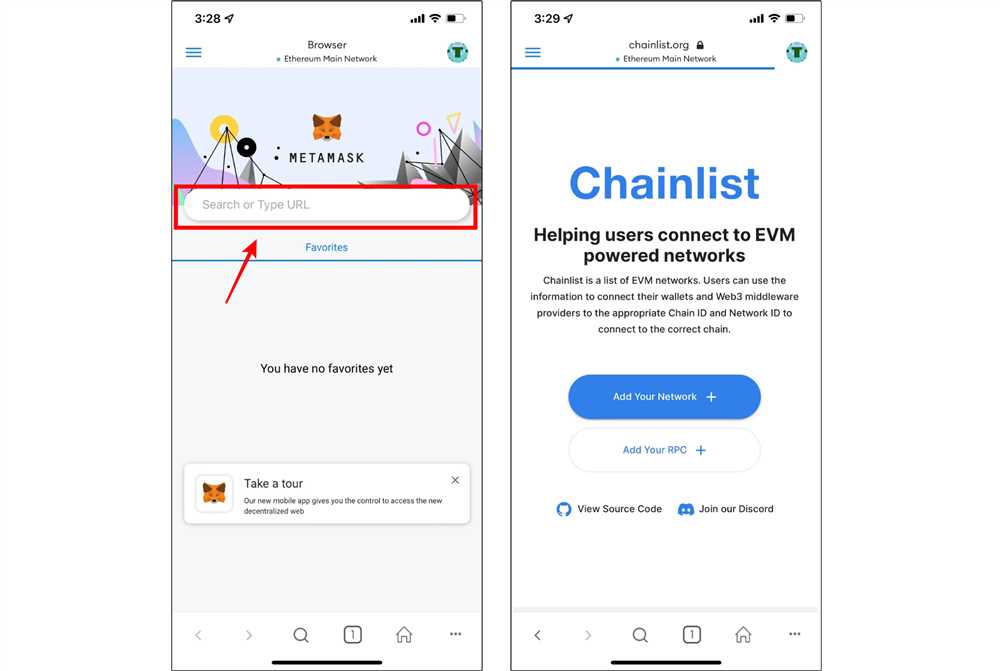
Select a secondary EVM wallet that is compatible with Galxe ID. You can choose from popular options such as MetaMask, Trust Wallet, or WalletConnect.
Step 2: Download the Wallet
Visit the official website or app store of the chosen wallet and search for the secondary EVM wallet. Click on the download button or install the app on your device.
Step 3: Install the Wallet
Once the download is complete, locate the downloaded file or app on your device and open it. Follow the on-screen instructions to install the secondary EVM wallet.
Step 4: Set Up Your Wallet
After the installation is complete, open the secondary EVM wallet. You will be prompted to create a new wallet or import an existing one. Follow the instructions provided by the wallet to set up your wallet.
Step 5: Connect to Galxe ID

Once your secondary EVM wallet is set up, open Galxe ID in your web browser and log in to your account. Go to the wallet settings or connect wallet section and select the option to connect a secondary wallet. Follow the on-screen instructions to connect your secondary EVM wallet to Galxe ID.
| Wallet Name | Website |
|---|---|
| MetaMask | https://metamask.io |
| Trust Wallet | https://trustwallet.com |
| WalletConnect | https://walletconnect.org |
Connect Secondary EVM Wallet to Galxe ID
If you are looking to connect your secondary EVM wallet to your Galxe ID, you’ve come to the right place. By connecting your secondary wallet, you can easily access and manage your Ethereum assets through the Galxe ID interface. Follow the step-by-step guide below to get started:
Step 1: Log in to Galxe ID
Before you can connect your secondary wallet, you need to log in to your Galxe ID account. Open the Galxe ID website and enter your login details to access your account.
Step 2: Navigate to Wallet Settings
Once you are logged in, navigate to the “Settings” section of your Galxe ID account. Look for the “Wallet” or “Wallets” tab and click on it to proceed.
Step 3: Add Secondary Wallet
In the Wallets section, you will see an option to “Add Wallet” or “Connect Wallet.” Click on this option to add your secondary EVM wallet.
Step 4: Select EVM Wallet
A new window or pop-up will appear, showing a list of available EVM wallets that you can connect to Galxe ID. Choose your secondary wallet from the list and click on it.
Note: Make sure you have your secondary EVM wallet connected and unlocked before proceeding to this step.
Step 5: Follow Wallet-Specific Instructions
Depending on the wallet you have selected, you may need to follow wallet-specific instructions to complete the connection process. The instructions could include signing a message, verifying a signature, or entering additional details. Follow the on-screen instructions carefully to successfully connect your secondary EVM wallet.
Step 6: Confirm Connection
After following the wallet-specific instructions, Galxe ID will display a confirmation message indicating that your secondary EVM wallet has been successfully connected. Take a moment to review the details before clicking on the “Confirm” or “Connect” button.
Step 7: Manage Your Secondary Wallet
Congratulations! You have successfully connected your secondary EVM wallet to your Galxe ID. You can now manage your Ethereum assets, view transaction history, and interact with decentralized applications (DApps) using your Galxe ID interface.
Note: It is important to ensure the security of your secondary EVM wallet. Keep it locked, use strong passwords, enable two-factor authentication, and follow recommended security practices to protect your assets.
By connecting your secondary EVM wallet to Galxe ID, you can enjoy the benefits of a streamlined and secure Ethereum management experience. Take full advantage of the Galxe ID platform and explore the possibilities of the decentralized world!
What is Galxe ID?
Galxe ID is a decentralized identity solution that allows users to have full control over their virtual identity and personal data. It enables seamless and secure access to various decentralized applications (DApps) on the Ethereum network.