Connecting Various Wallets on Galaxy: A Comprehensive Guide
If you’re an avid cryptocurrency user, you know that keeping your digital assets safe and accessible is of vital importance. One way to achieve this is by connecting your wallets to your Galaxy device. In this comprehensive guide, we will explore the various types of wallets you can connect and the steps you need to take to ensure a seamless connection.
First, let’s discuss the different types of wallets you can use. You have the option of connecting hardware wallets, software wallets, and mobile wallets. Hardware wallets, such as Ledger and Trezor, offer the highest level of security as they are offline and separate from your Galaxy device. Software wallets, like Exodus and Jaxx, are installed on your computer and provide easy access to your funds. Mobile wallets, such as Trust Wallet and Coinomi, are convenient for on-the-go transactions.
To connect your chosen wallet to your Galaxy device, follow these simple steps. Firstly, ensure that your wallet is compatible with your Galaxy model and operating system. Next, download the wallet app from the official app store or the wallet’s website. Once installed, open the app and follow the setup instructions. This typically involves creating a wallet account and setting a strong password. Lastly, enable wallet integration on your Galaxy device by accessing the settings menu and selecting the wallet integration option.
By connecting your wallets to your Galaxy device, you can conveniently monitor your cryptocurrency holdings and perform transactions with ease. Remember to always keep your wallet and device updated with the latest security patches to minimize the risk of unauthorized access. With this comprehensive guide, you’ll be on your way to securely managing your digital assets on your Galaxy device.
Step-by-Step Guide on Connecting Your Ethereum Wallet to Galaxy
Connecting your Ethereum wallet to Galaxy allows you to seamlessly access and manage your Ethereum funds and transactions on the platform. To ensure a smooth connection process, follow the step-by-step guide below:
Step 1: Open Galaxy’s Wallet Integration Page
Navigate to Galaxy’s official website and access the Wallet Integration page. This page provides step-by-step instructions for connecting various wallets to Galaxy.
Step 2: Select Ethereum Wallet
From the list of compatible wallets, select your Ethereum wallet. Galaxy supports a wide range of wallets, including MetaMask, MyEtherWallet, Trust Wallet, and more.
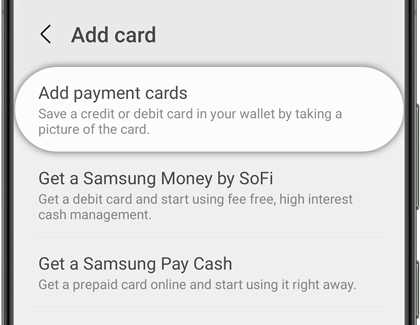
Step 3: Install and Set Up the Wallet
If your selected Ethereum wallet is not installed on your device, download and install it following the official instructions provided by the wallet provider. Once installed, proceed with the wallet setup, including creating a new wallet or importing an existing one if necessary. Make sure to securely store your wallet’s recovery phrase or private key!
Step 4: Connect Your Wallet to Galaxy
Once your Ethereum wallet is installed and set up, open the wallet and navigate to its settings or options menu. Look for the “Connect to DApps” or “Connect to External Sites” option and click on it.
A list of supported DApps or external platforms will appear. Find and select Galaxy from the list. Confirm the connection when prompted.
Step 5: Verify the Connection
After connecting your Ethereum wallet to Galaxy, you should see a confirmation within the wallet interface or on Galaxy’s website. This indicates a successful connection.
Once connected, you can begin exploring and utilizing Galaxy’s features and services with your Ethereum wallet. Ensure that you keep your wallet secure and regularly back up your wallet data to prevent any potential losses.
Remember to exercise caution while interacting with smart contracts, tokens, or any other elements within Galaxy, as these actions are irreversible and may result in the loss of your funds. Stay informed and double-check all transactions before confirming them.
Connecting Binance Smart Chain Wallet to Galaxy: A Detailed Walkthrough
If you are using the Binance Smart Chain (BSC) and want to connect your Binance Smart Chain wallet to Galaxy, follow these steps:
Step 1: Install the Binance Chain Wallet Extension
First, make sure you have the Binance Chain Wallet extension installed in your web browser. If you don’t have it, you can download it from the Chrome Web Store or Firefox Add-ons.
Step 2: Create or Import Your Binance Smart Chain Wallet
Once the Binance Chain Wallet extension is installed, open it and create a new wallet or import your existing Binance Smart Chain wallet using the private key or seed phrase.
Step 3: Connect to the Binance Smart Chain Network
After setting up your wallet, click on the wallet extension icon in your browser’s toolbar. From the dropdown menu, select “Settings” and then click on the “Networks” tab.
In the Networks section, click on “Add Network” and enter the following details:
- Network Name: Binance Smart Chain
- Network URL: https://bsc-dataseed.binance.org/
- Chain ID: 56
- Symbol: BNB
- Explorer URL: https://bscscan.com/
Click “Save” to add the Binance Smart Chain network.
Step 4: Connect Your Binance Smart Chain Wallet to Galaxy
Now, open the Galaxy platform and click on the “Connect Wallet” button. From the list of available wallets, select “Binance Smart Chain” and authorize the connection.
Once connected, you can access your Binance Smart Chain wallet on Galaxy and interact with BSC-compatible dApps and decentralized exchanges.
By following these steps, you can easily connect your Binance Smart Chain wallet to Galaxy and enjoy a seamless experience on the BSC ecosystem.
Integrating Polygon Wallet with Galaxy: The Easy Way
If you’re a user of Polygon Wallet and you want to integrate it with Galaxy, good news! It’s a simple process that can be completed in a few easy steps. Here’s how:
- First, make sure you have the latest version of Galaxy installed on your device. You can download it from the official website or your device’s app store.
- Open Galaxy and navigate to the settings menu. Look for the “Wallet Integration” option and tap on it.
- In the wallet integration settings, you will see a list of supported wallets. Scroll down until you find the “Polygon Wallet” option and tap on it.
- Galaxy will prompt you to connect your Polygon Wallet. Follow the on-screen instructions to securely connect your wallet.
- Once the integration is complete, you will be able to access your Polygon Wallet directly from within Galaxy. You can manage your assets, view transaction history, and perform various actions with ease.
That’s it! You have successfully integrated your Polygon Wallet with Galaxy. Now you can enjoy a seamless experience managing your Polygon assets through the Galaxy platform.
Note that Galaxy supports integration with various wallets, including popular ones like MetaMask, Trust Wallet, and Binance Chain Wallet. So if you use any of these wallets, you can also follow a similar process to integrate them with Galaxy.
With the ability to integrate multiple wallets, Galaxy provides users with a convenient way to access and manage their decentralized assets in one place. Give it a try and streamline your crypto experience!
Exploring Additional Wallet Integration Options on Galaxy
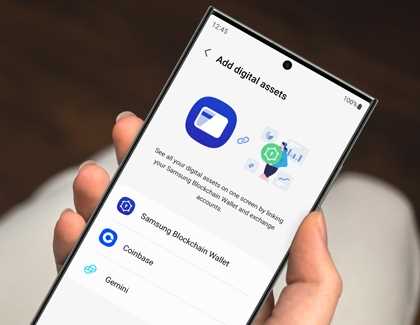
When it comes to connecting various wallets on your Galaxy device, the possibilities are virtually endless. In addition to the popular wallets mentioned in the previous sections, there are several other integration options you can explore to enhance your wallet ecosystem.
1. Wallet X
Wallet X is a versatile and user-friendly wallet that offers seamless integration with Galaxy devices. With Wallet X, you can securely store and manage multiple cryptocurrencies and tokens, and easily connect with other supported wallets. The integration process is straightforward and intuitive, ensuring a hassle-free experience for users.
2. Wallet Y
For those looking for a feature-rich wallet with enhanced security features, Wallet Y is a great option. Wallet Y offers advanced encryption and multi-factor authentication to protect your digital assets. Its intuitive interface and smooth integration with Galaxy devices make it a popular choice among cryptocurrency enthusiasts.
By exploring additional wallet integration options on your Galaxy device, you can expand your cryptocurrency portfolio and ensure seamless access to your funds across different platforms. Whether you choose Wallet X, Wallet Y, or any other supported wallet, the integration process is designed to be user-friendly and secure.
Remember to always do your research and choose wallets that align with your specific needs and preferences. By diversifying your wallet ecosystem, you can take full advantage of the features and benefits offered by different wallet providers.
Disclaimer: Crypto investments are subject to market risks, and it’s important to exercise caution and seek professional advice before making any investment decisions.
Happy exploring and happy wallet integration on your Galaxy device!
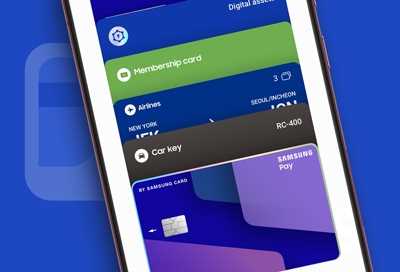
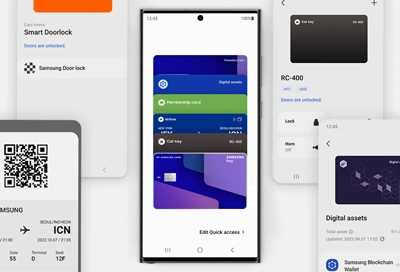
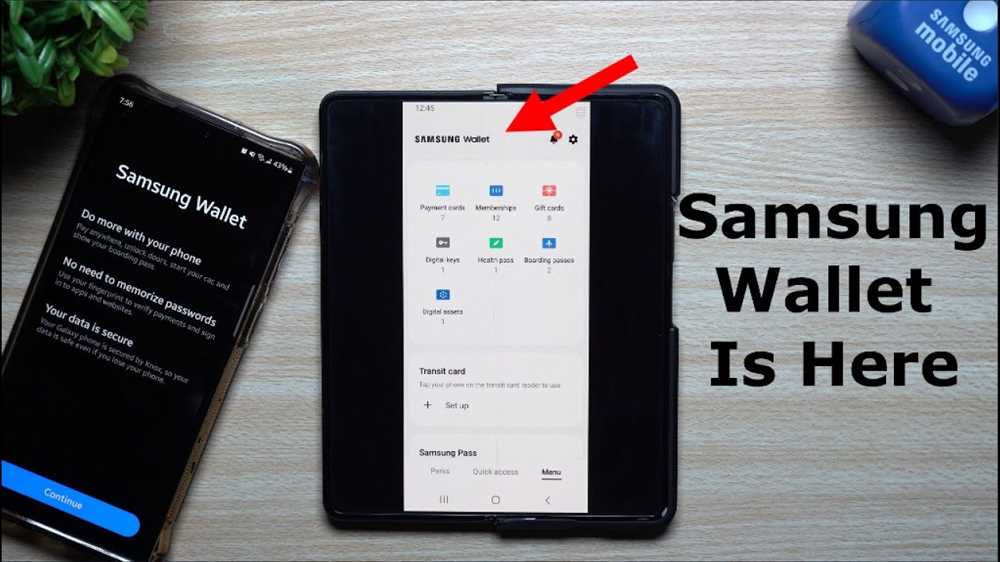
What is the Galaxy wallet?
The Galaxy wallet is a cryptocurrency wallet that allows users to store, manage, and transfer their digital assets securely.
Can I connect multiple wallets to Galaxy?
Yes, you can connect multiple wallets to Galaxy. The wallet supports various wallet types, including hardware wallets, software wallets, and web wallets.