Guide to Registering for a Galaxy Passport
Welcome to the ultimate guide on how to register for a Galaxy Passport! Whether you are a seasoned traveler or a first-time explorer, having a Galaxy Passport opens up a world of possibilities. This comprehensive guide will walk you through all the steps you need to take to obtain your very own Galaxy Passport, making your interstellar travel dreams come true.
Step 1: Understanding the Galaxy Passport
Before diving into the registration process, it’s essential to understand what a Galaxy Passport is and why it’s a must-have for any space enthusiast. The Galaxy Passport is a universal identification document that grants you access to various galaxies, ensuring you can explore and experience the wonders of the universe without any limitations. From alien encounters to breathtaking celestial landscapes, the Galaxy Passport is your ticket to unforgettable adventures.
Step 2: Gather the Required Documents
Now that you’re familiar with the importance of a Galaxy Passport let’s move on to the registration process. The first step is gathering all the necessary documents. You will need a valid identification card, proof of interstellar address, and a recent intergalactic travel photo. Ensure that all your documents are up to date and meet the specified requirements to avoid any delays or complications during the registration process.
Step 3: Submitting Your Application
Once you have all the required documents ready, it’s time to submit your Galaxy Passport application. You can either visit your nearest Intergalactic Travel Agency or complete the online application on the Galaxy Passport official website. Fill in all the necessary information accurately and double-check for any errors or omissions. Remember, providing false information may lead to your application being rejected.
Step 4: Pay the Registration Fee
After submitting your application, you will be required to pay the registration fee. The fee covers the processing and production costs of your Galaxy Passport. The amount may vary depending on your desired travel duration and additional services. Ensure that you have the necessary funds available and complete the payment within the specified timeframe to avoid any complications.
Step 5: Passport Issuance and Delivery
Once your application and payment have been successfully processed, your Galaxy Passport will be issued. The processing time may vary, but you can expect to receive your passport within three to four weeks. It will be delivered directly to your registered interstellar address, so make sure to provide accurate and up-to-date information during the application process.
Congratulations! You are now equipped with all the information you need to register for a Galaxy Passport. Get ready to embark on the journey of a lifetime and explore the vast wonders of the universe. Buckle up, and let your interstellar adventure begin!
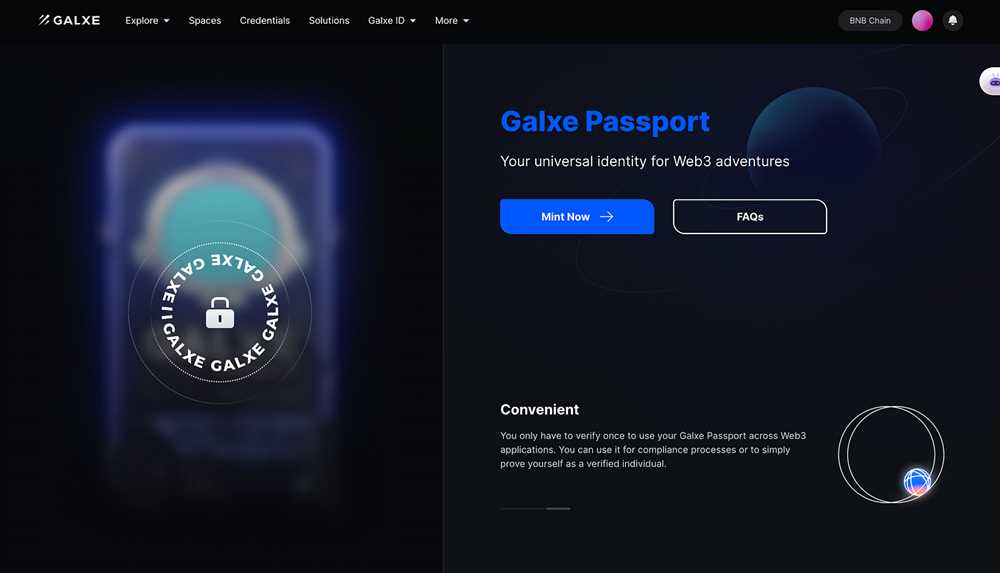
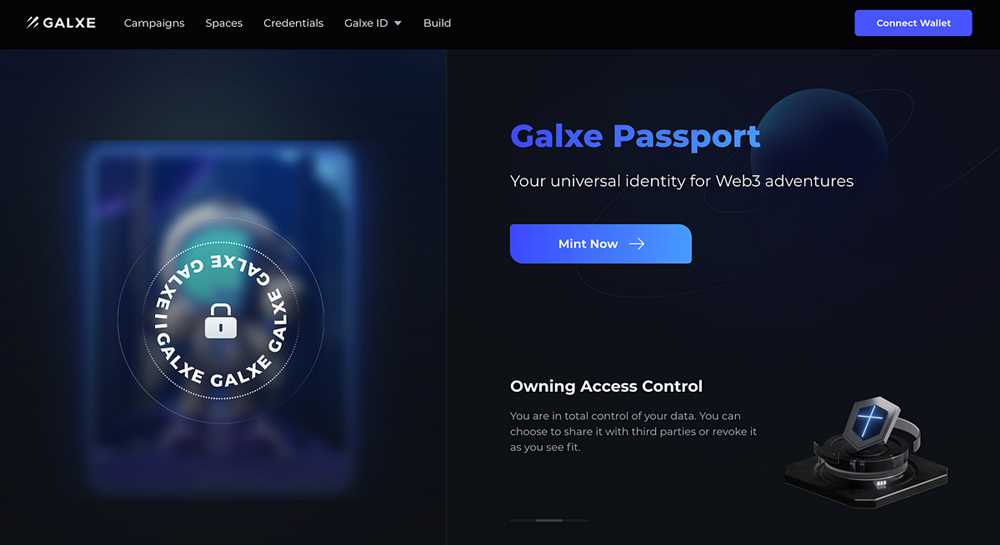
How to Register for a Galxe Passport: A Step-by-Step Guide
Registering for a Galxe Passport is a simple and straightforward process. Follow the steps below to get your Galxe Passport:
Step 1: Visit the Galxe Passport Registration Page
Start by visiting the official Galxe Passport website and navigate to the registration page. You can do this by clicking on the “Register” button or following the direct link provided on the website.
Step 2: Provide Personal Information
Once you are on the registration page, you will be asked to provide your personal information. This may include your full name, date of birth, gender, nationality, and contact information. Make sure to fill in all the required fields accurately.
Step 3: Choose Your Username and Password
After providing your personal information, you will need to choose a unique username and password for your Galxe Passport account. Make sure to select a strong password to ensure the security of your account.
Step 4: Select Additional Services
At this stage, you will have the option to select any additional services or features that you would like to include with your Galxe Passport. This may include expedited processing, document storage, or travel insurance. Review the options and select the ones that best suit your needs.
Step 5: Agree to Terms and Conditions
Before completing the registration process, you will be prompted to read and agree to the terms and conditions of the Galxe Passport service. It is important to carefully read through the terms and conditions and understand your rights and responsibilities as a Galxe Passport holder.
Step 6: Make Payment

Once you have agreed to the terms and conditions, you will be directed to the payment page. Provide the necessary payment details and complete the payment process to finalize your Galxe Passport registration.
Step 7: Receive Confirmation and Documentation

After completing the registration and payment process, you will receive a confirmation email with your Galxe Passport details. You may also receive additional documentation depending on the services you have selected. Make sure to save these documents for future reference.
Congratulations! You have successfully registered for your Galxe Passport. With your Galxe Passport, you can now enjoy a hassle-free travel experience and access a wide range of benefits and services.
| Benefits of Galxe Passport: |
|---|
| 1. Global acceptance: Your Galxe Passport is recognized and accepted worldwide. |
| 2. Priority processing: Enjoy faster passport processing times with Galxe Passport. |
| 3. Exclusive travel offers: Access special discounts and offers on flights, accommodations, and more. |
| 4. 24/7 customer support: Get round-the-clock customer support for any passport-related queries. |
| 5. Document storage: Keep your travel documents safe and easily accessible with Galxe Passport. |
| 6. Travel insurance coverage: Protect yourself against unexpected situations with travel insurance. |
Creating an Account

Registering for a Galxe passport is a straightforward process that begins with creating an account.
Step 1: Visit the Galxe Passport Website
Start by visiting the official Galxe Passport website. You can find the website by searching for “Galxe Passport” on your favorite search engine.
Step 2: Click on the “Create Account” Button
On the Galxe Passport website, look for the “Create Account” button and click on it. This will take you to the account creation page.
Step 3: Fill in Your Personal Information

On the account creation page, you will be asked to fill in your personal information. This may include your name, date of birth, email address, and contact information. It is important to provide accurate information to ensure the smooth processing of your Galxe Passport application.
Step 4: Choose a Username and Password

Next, choose a username and password for your Galxe Passport account. Make sure to choose a secure password that includes a combination of letters, numbers, and special characters to protect your account.
Step 5: Agree to the Terms and Conditions

Before completing the account creation process, you will need to read and agree to the terms and conditions of Galxe Passport. Make sure to carefully review the terms before proceeding.
Step 6: Verify Your Email Address
After creating your account, you will receive an email with a verification link. Click on the link to verify your email address. This step is necessary to activate your Galxe Passport account.
Once you have completed these steps, you will have successfully created a Galxe Passport account. You can now proceed with the application process and start enjoying the benefits of having a Galxe Passport.
Providing Personal Information

When registering for a Galxe passport, you will be required to provide personal information. This information is necessary for the application process and is used to verify your identity.
Some of the personal information you will need to provide includes:
- Full Name: Your full legal name, including any middle names or suffixes.
- Date of Birth: Your date of birth in the format DD/MM/YYYY.
- Gender: Your gender identity.
- Nationality: Your current nationality.
- Residential Address: The address where you currently reside.
- Contact Details: Your phone number and email address.
- Passport Photo: A recent passport-sized photograph.
- Signature: Your signature, done with a black ink pen on a white background.
Please ensure that all the information you provide is accurate and up-to-date. Any discrepancies or incorrect information may result in delays or rejection of your application.
Note: The Galxe passport application process adheres to strict privacy and security protocols to protect the personal information you provide. Your information will only be used for the purpose of processing your passport application.
Verifying Your Identity
Verifying your identity is an important step in the process of registering for a Galxe Passport. In order to ensure the security and integrity of the passport application process, Galxe requires all applicants to provide valid and verifiable identification documents.
Accepted Identification Documents
Galxe accepts several types of identification documents for the purpose of verifying your identity. These include:
- Valid passport from your country of citizenship
- National identification card
- Driver’s license
- Government-issued identification card
Verification Process
Once you have provided the necessary identification documents, Galxe will conduct a thorough verification process. This process involves cross-checking the information you have provided with various databases to confirm your identity.
During the verification process, it is important to ensure that the information on your identification documents matches the information you have provided in your passport application. Any discrepancies may result in delays or rejection of your application.
Once your identity has been successfully verified, you will be one step closer to obtaining your Galxe Passport and enjoying the benefits and privileges it offers.
Completing the Registration Process
Once you have gathered all the necessary documents and filled out the application form, you are ready to complete the registration process for your Galxe Passport. Follow these steps to ensure a smooth and successful registration:
Step 1: Review your application
Before submitting your application, take a few moments to review all the information you have provided. Make sure that your personal details, such as your full name, date of birth, and address, are accurate and spelled correctly. Double-check that you have included all the required supporting documents.
Step 2: Pay the registration fee
Next, you will need to pay the registration fee. The amount will depend on the type of passport you are applying for and your age. Accepted payment methods usually include credit or debit card, bank transfer, or online payment platforms. Make sure to keep a copy of your payment receipt for reference.
Step 3: Submit your application
Once you have completed the payment, you can submit your application. Some countries allow online submission, while others may require you to mail your application to a designated address. Follow the instructions provided by the Galxe Passport authority and make sure to include all the necessary documents in your application package.
After submitting your application, you will receive a confirmation receipt or email. Keep this receipt safe as it may be needed for tracking your application status or for future reference.
It is important to note that the registration process may take some time. The Galxe Passport authority will need to verify your application, check your documents, and perform any necessary background checks. During this period, it is advisable to avoid making any travel plans until you receive your passport.
Once your application is approved, you will be notified about the collection process. You may need to visit a designated office or embassy to collect your Galxe Passport. Make sure to bring the required identification and any additional documents specified in the notification.
Completing the registration process for your Galxe Passport is an important step towards international travel. By following these steps carefully and providing accurate information, you can ensure a hassle-free and timely issuance of your passport.
What is a Galxe Passport?
A Galxe Passport is a travel document that allows individuals to travel and enter different countries legally. It contains important information, such as the person’s name, photo, date of birth, and nationality.
How can I register for a Galxe Passport?
To register for a Galxe Passport, you will need to visit the official website of the Galxe Passport agency. There, you will find the necessary application forms and instructions on how to complete them. You will also need to provide some documents, such as proof of identity, proof of citizenship, and a recent passport-sized photo. Once you have completed the application forms and gathered all the required documents, you can submit your application online or in person at the nearest Galxe Passport office.
What are the requirements for obtaining a Galxe Passport?
The requirements for obtaining a Galxe Passport may vary depending on the country you are from. However, common requirements include proof of identity (such as a valid driver’s license or government-issued ID), proof of citizenship (such as a birth certificate or naturalization certificate), a recent passport-sized photo, and a completed application form. It is important to check the specific requirements for your country before applying for a Galxe Passport.