Learn how to include various wallets on the Galxe ID platform
Galaxy ID is an essential feature of the Galaxy platform that allows users to securely manage their digital assets. With Galaxy ID, users can conveniently access and control their wallets, making it easier to engage in blockchain transactions. However, adding different wallets to the Galaxy platform can sometimes be a confusing process. In this article, we will explore how to effectively add different wallets to your Galaxy ID.
First and foremost, it is important to understand the importance of having multiple wallets. Different wallets can offer different functionalities and support various types of cryptocurrencies. By adding multiple wallets to your Galaxy ID, you can easily manage and transact with different types of digital assets.
To add a wallet to your Galaxy ID, you need to navigate to the “Wallets” section of your account. Once there, click on the “Add Wallet” button. This will prompt you to select the type of wallet you want to add, such as a hardware wallet, software wallet, or web wallet.
After selecting the type of wallet, you will be guided through a step-by-step process to set up and connect the wallet to your Galaxy ID. This may include installing the necessary software, connecting your hardware wallet to your computer, or entering your wallet’s seed phrase.
Once your wallet is added to your Galaxy ID, you can easily switch between different wallets, depending on your needs. This allows you to access and manage your various digital assets from one convenient location. It is important to note that while Galaxy ID provides a unified interface for managing wallets, each wallet remains independent and secure.
In conclusion, adding different wallets to your Galaxy ID is a straightforward process that can greatly enhance your ability to manage and transact with various digital assets. By having multiple wallets, you can enjoy the functionality and support offered by different wallet types. So, take advantage of Galaxy ID’s flexibility and add multiple wallets to your account today!
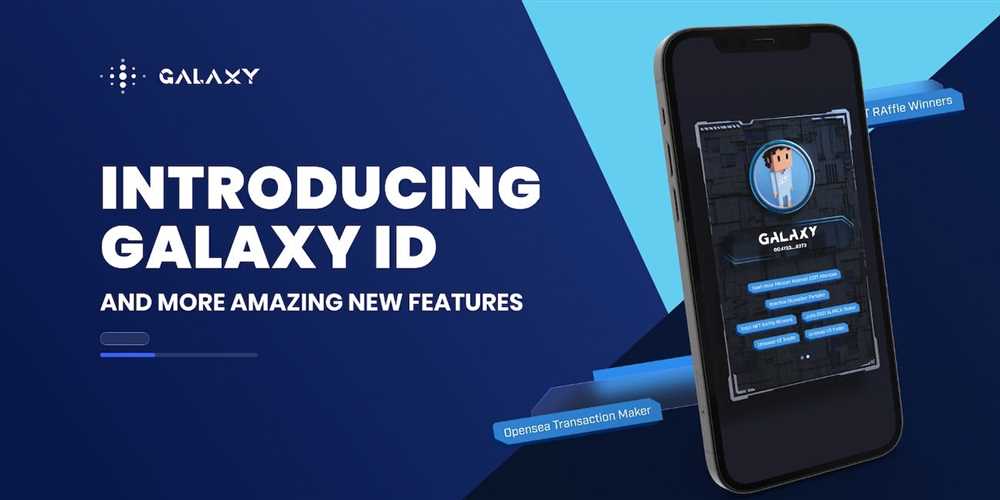
Understanding Galxe ID
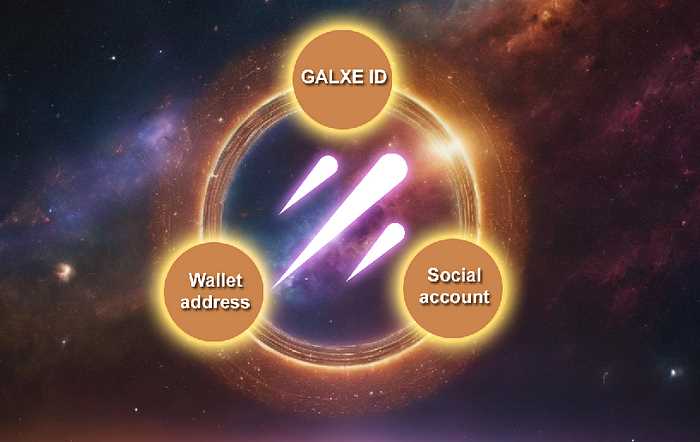
Galxe ID is a unique identification system developed by Galxe. It allows users to securely manage their digital assets and interact with various decentralized applications (dApps) within the Galxe ecosystem. With Galxe ID, users have full control over their data and can easily connect different wallets to the platform.
Why is Galxe ID important?
Galxe ID serves as the gateway for users to access the Galxe ecosystem. By using Galxe ID, users can securely authenticate themselves and interact with various dApps without the hassle of managing multiple accounts. This makes the user experience more seamless and convenient.
Furthermore, Galxe ID ensures the security and privacy of user data. It utilizes advanced encryption techniques to protect sensitive information such as private keys and personal data, reducing the risk of hacks and unauthorized access.
How to add different wallets to Galxe ID
Adding different wallets to Galxe ID is a straightforward process. Users can easily connect their existing wallets by following these steps:
- Log in to your Galxe ID account.
- Navigate to the “Wallets” section in your account settings.
- Click on the “Add Wallet” button.
- Select the type of wallet you want to add (e.g., MetaMask, Trust Wallet, etc.).
- Follow the on-screen instructions to complete the wallet integration.
- Once added, you can manage and access your connected wallets directly from your Galxe ID account.
By adding different wallets to Galxe ID, users can easily switch between wallets and access their digital assets without the need to import or export private keys. This feature provides users with greater flexibility and convenience when managing their crypto assets.
In conclusion, Galxe ID is an essential component of the Galxe ecosystem that provides users with a secure and convenient way to interact with dApps and manage their digital assets. By understanding Galxe ID and adding different wallets to the platform, users can fully leverage the benefits of decentralized finance and blockchain technology.
Adding Different Wallets
Galxe ID allows users to add different wallets to the platform for seamless management of their cryptocurrency assets. This feature provides flexibility and convenience to users who utilize multiple wallets for various purposes.
Step 1: Accessing Wallet Settings
To add a different wallet to the Galxe ID platform, users need to first access their wallet settings. This can be done by navigating to the account settings page and selecting the “Wallets” tab.
Step 2: Adding a New Wallet
Once in the wallet settings, users can add a new wallet by clicking on the “Add Wallet” button. They will then be prompted to select the type of wallet they want to add from a list of supported wallet providers.
Note: Galxe ID supports a wide range of popular wallet providers, including but not limited to Metamask, Trust Wallet, Ledger, and Trezor.
After selecting the wallet provider, users need to follow the on-screen instructions to connect their wallet to Galxe ID. This may involve entering credentials, verifying ownership, or providing API keys, depending on the specific wallet provider.
Step 3: Wallet Integration
Once the wallet is successfully connected to Galxe ID, users will see a confirmation message indicating the successful integration. The added wallet will now appear in the list of connected wallets in the wallet settings.
Note: Users can add multiple wallets to Galxe ID, allowing them to manage and track their cryptocurrency assets across different wallets from a centralized platform.
With the added wallet(s), users can easily switch between wallets and access their funds, make transactions, and perform other wallet-related activities directly from the Galxe ID platform. This eliminates the need to switch between different wallet applications or interfaces, streamlining the user experience.
Adding different wallets to Galxe ID provides users with enhanced control and convenience in managing their cryptocurrency assets. By centralizing wallet management, Galxe ID simplifies the user experience and ensures accessibility to multiple wallets without compromising security.
The Importance of Wallet Integration
Wallet integration is a crucial aspect of understanding Galxe ID and its functionality. With the rise of cryptocurrencies and blockchain technology, having a seamless and secure way to store and manage your digital assets is of utmost importance.
A wallet serves as a digital container that allows users to safely store their cryptocurrencies, access them, and make transactions. It is essential for Galxe ID to integrate different wallets into its platform to provide users with a wide range of options and functionalities.
By integrating different wallets, Galxe ID allows users to connect their existing wallets or create new ones directly on the platform. This enables users to have full control and access to their digital assets without the need to switch between multiple wallets or platforms.
Moreover, wallet integration provides enhanced security measures. Galxe ID ensures that all integrated wallets undergo a rigorous process to verify their authenticity and security features. This ensures that users’ assets are protected against potential risks, such as hacking or fraudulent activities.
Another benefit of wallet integration is the convenience it offers. Users can easily manage their digital assets, view their transaction history, and make transactions all within a single platform. This streamlines the user experience and eliminates the need to switch between different applications or platforms.
In conclusion, wallet integration plays a vital role in the overall functionality and user experience of Galxe ID. It provides users with a secure and convenient way to store and manage their digital assets, while also enhancing security measures against potential risks. By integrating different wallets, Galxe ID ensures that users have a wide range of options and functionalities at their disposal.
Step-by-Step Guide to Adding Wallets
Adding different wallets to the Galxe ID platform is a straightforward process. Follow these steps to ensure a smooth integration:
1. Create a Galxe ID Account

If you do not already have a Galxe ID account, you will need to create one to proceed. Visit the Galxe ID website and click on the “Sign Up” button. Fill in the required information, including your email address and password, and follow the instructions to create your account.
2. Navigate to “Wallet Management”
Once you have logged in to your Galxe ID account, navigate to the “Wallet Management” section. This can usually be found in the settings or profile menu of the platform.
3. Click on “Add Wallet”
Locate the “Add Wallet” button and click on it. A dropdown menu will appear with a list of supported wallets. Choose the wallet you would like to add to your Galxe ID account.
4. Connect the Wallet
After selecting your preferred wallet, you will be prompted to connect and authenticate it. Follow the on-screen instructions to connect your wallet to Galxe ID securely.
5. Verify Integration

Once your wallet is connected, you should see a confirmation message or icon indicating successful integration. Double-check that your wallet is listed in the “Wallet Management” section.
6. Repeat for Additional Wallets (Optional)
If you would like to add more wallets to your Galxe ID account, repeat steps 3-5 for each additional wallet you wish to integrate.
By following this step-by-step guide, you can easily add different wallets to your Galxe ID platform. Having multiple wallets integrated can provide you with more flexibility and options for managing your digital assets securely.
What is a Galxe ID?
A Galxe ID is a unique identifier that allows users to access different wallets and applications on the Galxe platform.
Can I add multiple wallets to my Galxe ID?
Yes, you can add multiple wallets to your Galxe ID. This allows you to easily manage different cryptocurrencies and access various decentralized applications.
How do I add a wallet to my Galxe ID?
To add a wallet to your Galxe ID, you will need to follow these steps: 1. Open the Galxe platform and go to the settings page. 2. Click on “Add Wallet” and select the type of wallet you want to add. 3. Enter the necessary information, such as the wallet address and private key. 4. Confirm the wallet addition and you will now be able to access that wallet through your Galxe ID.
Is it safe to add different wallets to my Galxe ID?
Adding different wallets to your Galxe ID is generally safe, as long as you take proper security precautions. Make sure to use strong passwords, enable two-factor authentication, and keep your private keys secure. Additionally, only add wallets from trusted sources to ensure the safety of your funds.
What are the benefits of adding different wallets to my Galxe ID?
Adding different wallets to your Galxe ID allows you to have a single point of access for managing all your cryptocurrencies and decentralized applications. It provides convenience and simplifies the process of managing multiple wallets. You can easily switch between wallets without the need to remember different login credentials.