Linking Your Solana Wallet A Step-by-Step Guide
So you’ve heard about Solana, the high-performance blockchain platform that promises fast and inexpensive transactions. Now you want to get started and join the Solana ecosystem. One of the first things you’ll need to do is link your Solana wallet, which will allow you to securely store and manage your Solana tokens.
Linking your Solana wallet might sound complicated, but don’t worry – we’re here to help. In this step-by-step guide, we’ll walk you through the process, so you can start using your Solana wallet in no time.
Step 1: Choose Your Wallet
If you don’t already have a Solana wallet, the first thing you need to do is choose one. There are several wallet options available, both desktop and mobile, so you can pick the one that suits your needs best. Some popular Solana wallet options include Sollet, Solflare, and Phantom. Once you’ve chosen your wallet, you can move on to the next step.
Step 2: Install the Wallet
Once you’ve chosen your wallet, you’ll need to install it on your device. If you’re using a desktop wallet, you can usually find the installation file on the wallet’s official website. If you’re using a mobile wallet, you can find and install it from your device’s app store. Follow the instructions provided by the wallet developer to complete the installation.
Step 3: Set up Your Wallet
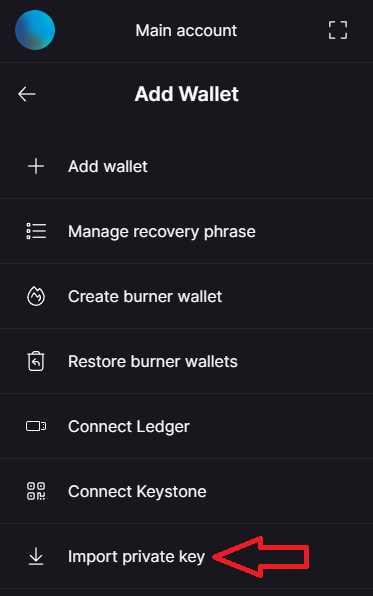
After you’ve installed your wallet, you’ll need to set it up. This usually involves creating a new wallet or importing an existing one using a recovery phrase or a private key. Make sure to follow the wallet’s instructions carefully and securely store your recovery phrase or private key, as losing this information may result in permanent loss of access to your wallet and funds.
Note: It’s important to choose a strong, unique password for your wallet and enable any additional security features offered by the wallet, such as two-factor authentication.
Step 4: Connect to Solana
Now that your wallet is set up, it’s time to connect it to Solana. Open your wallet and look for the “Connect” or “Add Account” option. This will usually bring up a list of available blockchains. Select Solana from the list and confirm your choice.
Tip: If you’re using a desktop wallet, you may need to install a browser extension or a Solana wallet extension to connect to the Solana blockchain.
Step 5: Link your Wallet
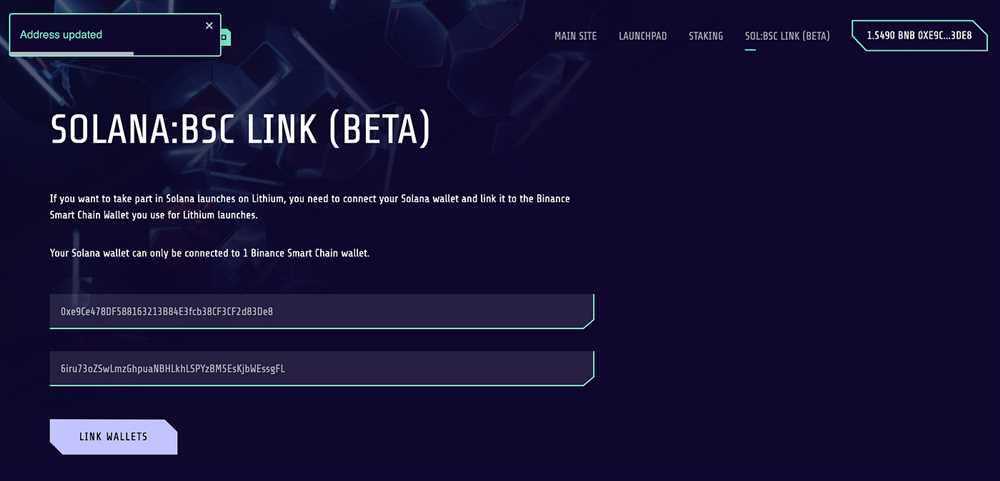
Finally, it’s time to link your Solana wallet. Depending on the wallet you’re using, this step may vary slightly. In general, you’ll need to provide your wallet’s address or scan a QR code to link it to your Solana account. This will allow you to send and receive Solana tokens, as well as interact with decentralized applications built on the Solana blockchain.
Congratulations! You’ve successfully linked your Solana wallet. Now you can start exploring the Solana ecosystem, participate in decentralized finance (DeFi) activities, and enjoy the benefits of fast and inexpensive transactions.
How to Link Your Solana Wallet
Linking your Solana wallet is an essential step in gaining access to your digital assets and participating in the Solana network. Here is a step-by-step guide to help you link your Solana wallet quickly and securely:
Step 1: Choose a Solana Wallet
The first step is to choose a Solana wallet that is compatible with your device and meets your needs. There are various options available, including web-based wallets, mobile wallets, and hardware wallets. Some popular choices include Sollet, Phantom, and Ledger Live.
Step 2: Download and Install the Wallet
Once you have chosen a wallet, visit the official website or app store associated with the wallet and download the application to your device. Make sure to verify the authenticity of the source to avoid downloading any malicious software.
Step 3: Create a New Wallet or Import an Existing Wallet
After installing the wallet application, you will need to create a new wallet or import an existing wallet if you already have one. Follow the wallet’s instructions to generate a new wallet seed phrase or import your existing seed phrase securely. Remember to store the seed phrase in a safe and offline location, as it is crucial for wallet recovery.
Step 4: Connect Your Solana Wallet to Solana Applications
Once your wallet is set up, you can link it to various Solana applications to interact with decentralized finance (DeFi) platforms, decentralized exchanges (DEXs), and other Solana-based projects. Look for the option to connect or link your wallet within the application and follow the prompts to establish the connection.
Step 5: Secure Your Solana Wallet
After linking your wallet, it is crucial to take additional steps to secure your funds. Enable any available security features, such as two-factor authentication (2FA) or biometric authentication. Regularly update your wallet software to benefit from security enhancements and be wary of phishing attempts or suspicious links.
| Tips: |
|---|
| 1. Double-check the website or source of the wallet application to avoid scams. |
| 2. Never share your wallet seed phrase or private keys with anyone. |
| 3. Use hardware wallets for added security when dealing with large amounts of SOL or other digital assets. |
| 4. Keep your wallet software and device firmware up to date to protect against potential vulnerabilities. |
By following these steps and being cautious, you can securely link your Solana wallet and start taking advantage of the various opportunities offered by the Solana network.
Step 1: Download a Solana Wallet
Before you can start using Solana, you’ll need to download a Solana wallet. The wallet is a secure digital storage for your Solana tokens, allowing you to send, receive, and store them safely.
Here’s how you can download a Solana wallet:

- Go to the official Solana website or use a trusted app store to download a Solana wallet app.
- Choose a wallet app that is compatible with your device’s operating system (iOS or Android).
- Click on the download button or install the app from the app store.
- Once the app is downloaded and installed, open it on your device.
- Create a new wallet or restore an existing wallet if you already have one.
- Follow the on-screen instructions to set up your wallet, including creating a strong password and backing up your seed phrase.
- Once your wallet is set up, you’ll be able to access your Solana tokens and perform various transactions.
It’s important to choose a reputable and secure wallet app to ensure the safety of your Solana tokens. Make sure to do your research and read reviews before downloading a wallet app.
Remember to keep your wallet app and seed phrase safe and secure. Losing access to your wallet or seed phrase can result in permanent loss of your tokens.
Now that you’ve downloaded a Solana wallet, you’re ready to move on to the next step and link your wallet to Solana.
Step 2: Create a New Wallet
Once you have downloaded the Solana wallet app, it’s time to create a new wallet. Follow the steps below to get started:
1. Open the Solana Wallet App
Locate the Solana wallet app on your device and open it. You will be greeted with the main screen of the app.
2. Click on “Create New Wallet”
On the main screen of the app, you will see a button that says “Create New Wallet”. Click on it to begin the wallet creation process.
3. Choose a Strong Password
When prompted, choose a strong and unique password for your wallet. Make sure to use a combination of upper and lowercase letters, numbers, and symbols to create a secure password.
4. Write Down the Recovery Phrase
After setting a password, you will be shown a recovery phrase consisting of 12 words. It is crucial to write down this recovery phrase and keep it in a safe place. This phrase can be used to restore your wallet if you ever lose access to it.
5. Confirm the Recovery Phrase

To ensure that you have written down your recovery phrase correctly, you will be asked to confirm it by selecting the words in the correct order. This step helps to prevent any mistakes in writing down the recovery phrase.
Once you have completed these steps, you have successfully created a new Solana wallet. It is important to keep your password and recovery phrase secure to protect your funds. In the next step, we will guide you on how to link your newly created wallet to the Solana platform.
Step 3: Backup Your Wallet
One of the most important steps in using a Solana wallet is ensuring that you have a backup of your wallet information. This is crucial in case you ever lose access to your wallet or need to recover it on a different device.
To backup your Solana wallet, follow these steps:
| 1. | Open your Solana wallet application. |
| 2. | Locate the “Backup” or “Export” option in the wallet. |
| 3. | Click on the option to start the backup process. |
| 4. | You will be prompted to create a backup phrase or seed phrase. |
| 5. | Write down the backup phrase on a piece of paper or save it to a secure digital location. |
| 6. | Make sure to store the backup phrase in a safe and secure place. |
| 7. | Once you have successfully backed up your wallet, you can proceed with using your Solana wallet with peace of mind. |
Remember, never share your backup phrase with anyone and keep it away from prying eyes. Losing your backup phrase could result in permanent loss of access to your Solana wallet and funds.
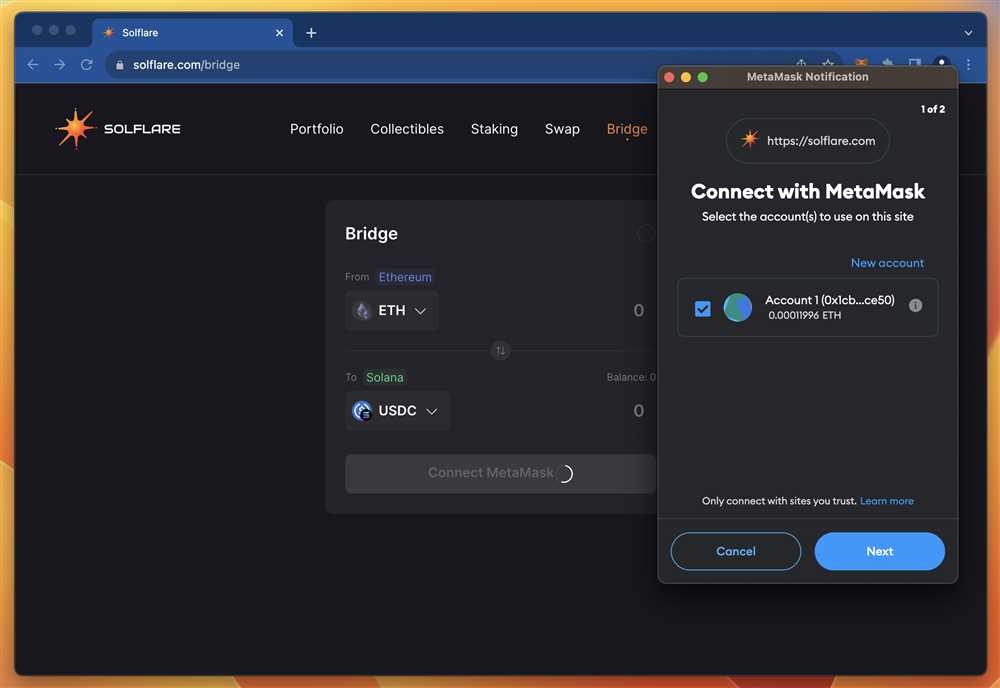
Step 4: Connect Your Wallet to Solana Network
Now that you have set up your Solana wallet and funded it with SOL tokens, it’s time to connect your wallet to the Solana network. This will allow you to interact with decentralized applications (dApps) and perform transactions on the Solana blockchain.
Option 1: Sollet.io Wallet
If you are using the Sollet.io wallet, follow these steps to connect it to the Solana network:
- Open the Sollet.io website in your browser.
- Click on the “Connect Wallet” button located on the top-right corner of the screen.
- Select your wallet provider from the list of options. This could be Phantom, Solflare, or any other supported wallet.
- A popup window will appear asking for your permission to connect your wallet. Click “Connect” to proceed.
- Once connected, you will be able to see your wallet address and balance on the Sollet.io interface.
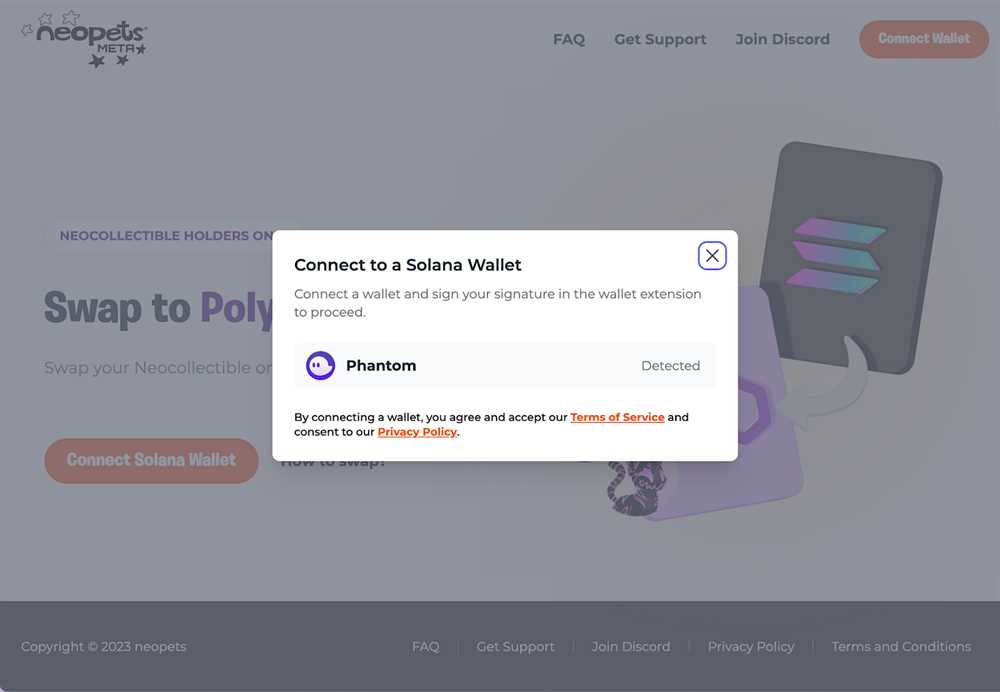
Option 2: Other Solana Wallets

If you are using a different Solana wallet, such as Phantom or Solflare, the steps to connect to the Solana network may vary slightly. However, the general process is as follows:
- Open your Solana wallet application or extension.
- Look for the option to connect or switch networks.
- Select Solana as the network you want to connect to.
- Authorize the connection by providing any necessary permissions.
- Once connected, you will be able to see your wallet address and balance within your wallet interface.
After successfully connecting your wallet to the Solana network, you will be ready to start using Solana-based dApps and transact on the Solana blockchain. Make sure to always verify the authenticity and security of the dApps you interact with and double-check the transaction details before confirming any transactions.
What is a Solana wallet?
A Solana wallet is a digital wallet that allows users to securely store, manage, and transact with their Solana cryptocurrency tokens. It is similar to a physical wallet that holds cash, except it is used for holding digital assets.
Why do I need to link my Solana wallet?
Linking your Solana wallet is necessary in order to access and interact with various decentralized applications (dApps) and digital assets built on the Solana blockchain. By linking your wallet, you can participate in transactions, staking, trading, and other activities within the Solana ecosystem.
Can I link multiple Solana wallets to the same platform or dApp?
Yes, in most cases you can link multiple Solana wallets to the same platform or dApp. However, the specific platform or dApp may have its own limitations or restrictions on the number of wallets that can be linked. It is important to check the platform’s documentation or contact their support team for more information on linking multiple wallets.