Switching Your Main EVM Wallet with Galxe ID Progress A Step-by-Step Guide
Are you tired of using the same old Ethereum Virtual Machine (EVM) wallet? Looking for a change? Well, look no further! In this comprehensive guide, we will walk you through the process of switching your main EVM wallet to Galxe ID. Trust us, you won’t be disappointed!
What is Galxe ID?
Galxe ID is the latest innovation in the world of EVM wallets. It offers unparalleled security, user-friendly interface, and a wide range of features that will revolutionize your crypto experience. Whether you are a seasoned trader or new to the crypto world, Galxe ID has got you covered.
Why should you switch to Galxe ID?
Switching to Galxe ID is a no-brainer. Not only does it provide top-notch security to protect your assets, but it also offers an intuitive user interface that makes managing your portfolio a breeze. With Galxe ID, you can easily send and receive transactions, explore different dapps, and keep track of your investments all in one place.
So, what are you waiting for? Follow our step-by-step guide below to switch your main EVM wallet to Galxe ID and take your crypto experience to the next level!
Why Switching Your Main EVM Wallet is Important
Switching your main EVM (Ethereum Virtual Machine) wallet is an important decision that can have significant implications for your digital assets. Here are a few reasons why switching your main EVM wallet is important:
1. Enhanced Security: The security of your digital assets is paramount. By switching to a new EVM wallet, you can ensure that you are using the latest security features and protocols. This reduces the risk of hacking and minimizes the chances of your funds being stolen.
2. Improved Functionality: New EVM wallets often come with improved functionality and user-friendly interfaces. This can make it easier for you to manage your digital assets, access decentralized applications, and navigate through the EVM ecosystem.
3. Compatibility with New Features: As the EVM ecosystem continues to evolve, new features and functionalities are regularly introduced. By switching to a new EVM wallet, you can take advantage of these new features and ensure that you are not left behind.
4. Community Support: Switching your main EVM wallet can also bring you closer to the wider EVM community. Different wallets have their own communities with active forums, social media groups, and developer support. By joining these communities, you can stay updated on the latest developments, participate in discussions, and seek help if needed.
5. Flexibility and Choice: Just like in any other field, having options is always beneficial. Switching your main EVM wallet gives you the flexibility to choose a wallet that aligns with your specific needs, preferences, and requirements. You can explore different features, interfaces, and functionalities offered by various wallets before making a decision.
Overall, switching your main EVM wallet is important for security, functionality, compatibility, community support, and the ability to choose the best wallet for your needs. It is a proactive step that can enhance your overall experience and ensure the safety of your digital assets in the ever-evolving EVM ecosystem.
Benefits of Galxe ID Progress Guide
The Galxe ID Progress Guide offers several benefits for individuals looking to switch their main EVM wallet. Whether you are a beginner or an experienced user, the Galxe ID Progress Guide can help you navigate the process smoothly and efficiently.
1. User-friendly Interface

Galxe ID Progress Guide features a user-friendly interface that is easy to navigate. The step-by-step instructions and visual aids make it simple for users to understand and follow the process of switching their main EVM wallet with Galxe ID.
2. Comprehensive Instructions
The guide provides comprehensive instructions on how to switch your main EVM wallet. It covers everything from creating a Galxe ID account to transferring your assets and configuring your new wallet. Users can trust that they will have all the information they need to successfully make the switch.
3. Enhanced Security
Galxe ID Progress Guide prioritizes security by ensuring that users are aware of the necessary safety measures. It provides instructions on how to back up and secure your wallet, as well as how to protect your private keys. Following these guidelines can help safeguard your assets and prevent unauthorized access.
4. Access to Additional Features
By utilizing the Galxe ID Progress Guide, users can unlock additional features that come with Galxe ID. These may include access to decentralized applications (dApps) and other blockchain services. The guide helps users understand how to make the most of these features and enhance their overall experience.
5. Community Support
The Galxe ID Progress Guide is backed by a supportive community of users who are ready to assist and share their knowledge. Users can seek help and guidance from the community, making it easier to resolve any issues or queries that may arise during the process.
Overall, the Galxe ID Progress Guide is a valuable resource for individuals looking to switch their main EVM wallet. Its user-friendly interface, comprehensive instructions, enhanced security measures, access to additional features, and community support make it an ideal tool for a seamless transition.
Steps to Switch Your Main EVM Wallet to Galxe ID
Switching your main EVM wallet to Galxe ID is a seamless process that can be done in a few simple steps. Follow the guide below to switch your wallet:
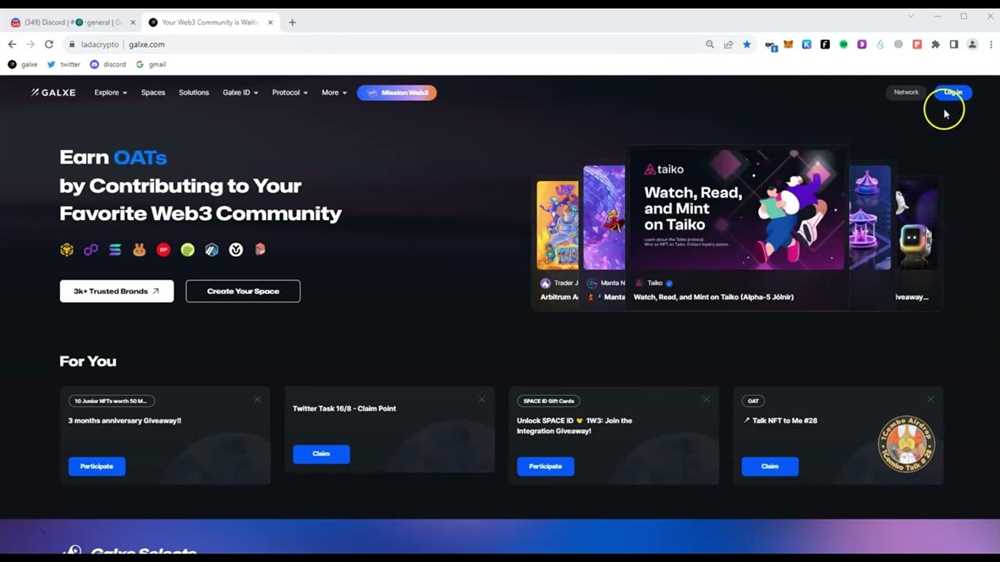
Step 1: Download and install the latest version of the Galxe ID app from the official website. Make sure to choose the version that is compatible with your device’s operating system.
Step 2: Once the app is installed, open it and create a new account by providing the necessary information. You will be asked to create a secure password to protect your wallet.
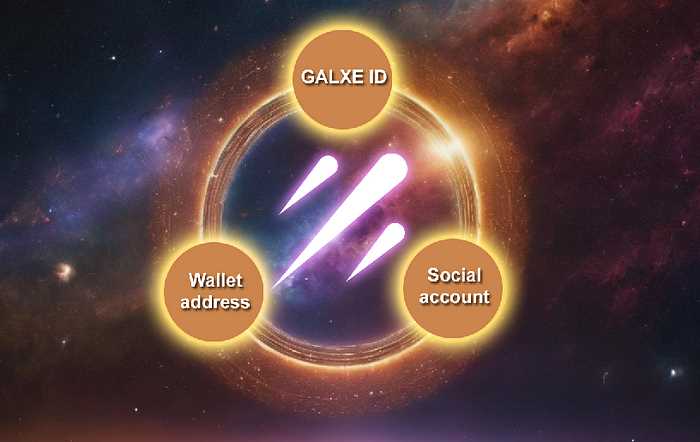
Step 3: After creating your account, you will be provided with a Galxe ID address. This address will serve as your new EVM wallet address.
Step 4: Transfer any existing funds from your old EVM wallet to your new Galxe ID address. You can do this by initiating a transfer from your old wallet to your new wallet address.
Step 5: Once the funds are successfully transferred, you can start using your Galxe ID wallet for all your EVM transactions. Your Galxe ID wallet is now your new main EVM wallet.
It is recommended to update your contacts and notify any relevant parties about your new wallet address to avoid any disruption in your transactions.
Note: It is important to double-check the recipient address before initiating any transfers to ensure that you are sending funds to the correct wallet.
How can I switch my main EVM wallet?
You can switch your main EVM wallet by following the steps provided in the Galxe ID Progress guide. It involves creating a new wallet with Galxe ID and transferring your funds and assets from your current wallet to the new one.
Is Galxe ID Progress guide suitable for beginners?
Yes, the Galxe ID Progress guide is designed to be user-friendly and easy to follow even for beginners. It provides step-by-step instructions along with screenshots to help you switch your main EVM wallet smoothly.
What are the benefits of using Galxe ID as my main EVM wallet?
Galxe ID offers several benefits as your main EVM wallet. It provides enhanced security features, allows for easy integration with different decentralized applications, and offers a seamless user experience. Additionally, Galxe ID allows you to manage multiple wallets in one place, making it convenient for users with multiple cryptocurrency holdings.
Can I transfer all my funds and assets from my current wallet to Galxe ID?
Yes, you can transfer all your funds and assets from your current wallet to Galxe ID. The Galxe ID Progress guide provides detailed instructions on how to transfer various cryptocurrencies and tokens to your new wallet. However, it’s important to double-check if the specific cryptocurrency or token is supported by Galxe ID.
What if I encounter any issues while switching my main EVM wallet with Galxe ID?
If you encounter any issues while following the Galxe ID Progress guide, you can reach out to the Galxe support team for assistance. They will be able to provide you with the necessary guidance and support to help you successfully switch your main EVM wallet.